
Getting started
-
Install Skullmaster
Section titled “Install Skullmaster” -
Start the development server
Section titled “Start the development server”The development server will then be available at:
http://localhost:8080 -
Mark a component
Section titled “Mark a component”Register any element you want to generate a skeleton for using the
markAsSkullhelper from@skullmaster/react. Spread the returned props onto the element:import { markAsSkull } from "@skullmaster/react";<div {...markAsSkull("ProfileCard")}>...</div>;The
nameargument becomes the skeleton name. See Marking components for the full API includingtweakForSkull. -
Add the provider
Section titled “Add the provider”In your application’s entry file (
App.tsx,main.tsx, orlayout.tsx), add the Skullmaster component:import { Skullmaster } from "@skullmaster/react";<Skullmaster />;This development-only helper collects runtime information and sends it to the CLI.
-
Generate your first skeleton
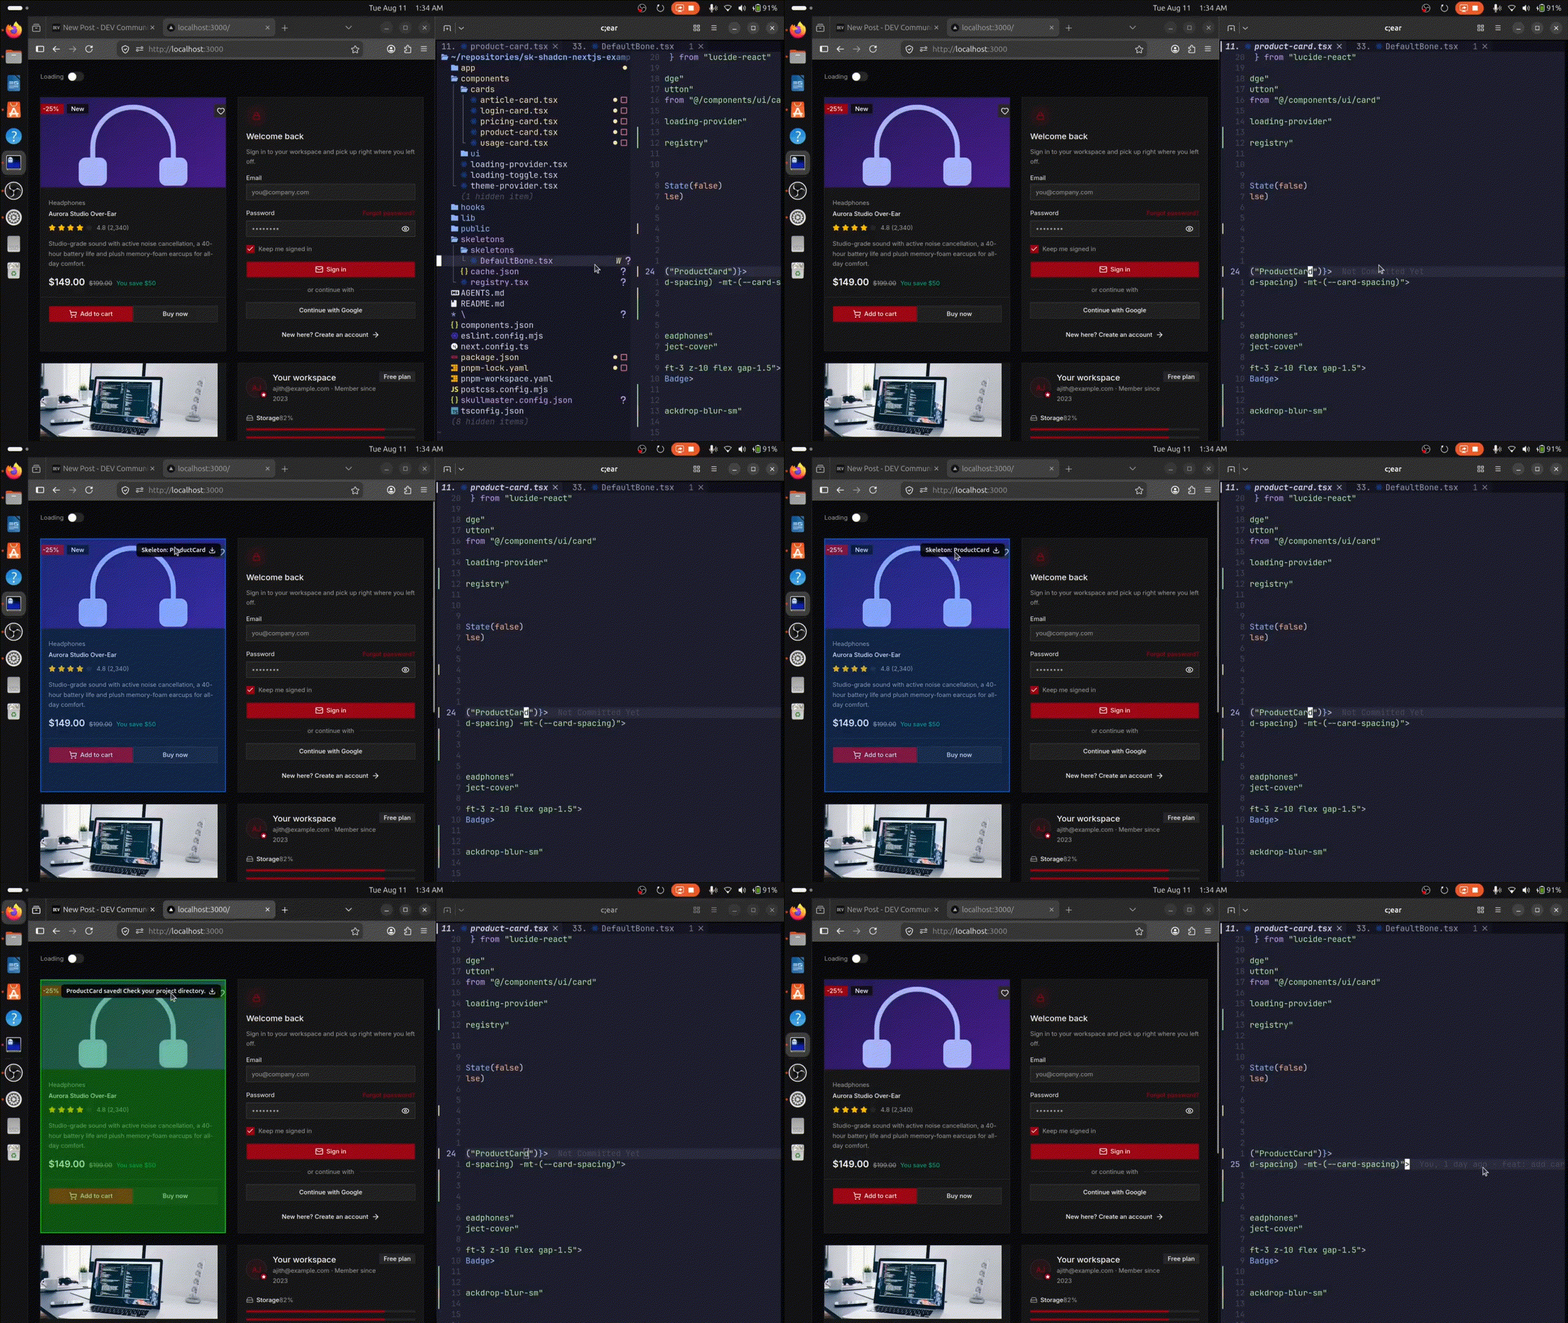
Section titled “Generate your first skeleton”Load your application in the browser, hover over the marked component and click:
-
Use the generated skeleton
Section titled “Use the generated skeleton”Once generated,
<Skeleton name="UserCard" />displays the generated skeleton instead of DefaultBone:import { Skeleton } from "../skeletons/registry";function ProfileCardPage({ user, isLoading }) {if (isLoading) {return <Skeleton name="ProfileCard" />;}return <ProfileCard user={user} />;}
Next: learn how to customize output and how generation works.